TM 5-3825-226-24
NOTE:
When sleeve is installed on pump
plunger, the narrower of the two
lands on the sleeve must be toward
top of pump (nearest the pump
spring).
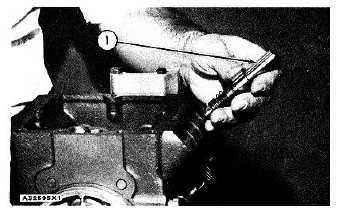
8. Clean the barrel and plunger of calibration pump (1).
Put clean diesel fuel on the calibration pump for
lubrication.
NOTE:
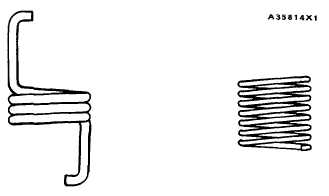
Be sure that the spring on calibration
pump (1) is the 5P6557 Spring
instead of the IP7377 Spring which
was installed on earlier calibration
pumps.
INSTALLING CALIBRATION PUMP
1. 3P1540 Calibration Pump.
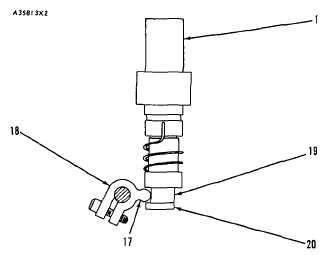
9.
Put calibration pump (1) in the place of
the pump to be checked with the flat place
(20) on the plunger toward tang (17) on
lever (18). When the calibration pump (1)
is all the way in the bore, turn it 1800 in
either
clockwise
or
counterclockwise
direction. Tang (17) on lever (18) is now
in groove (19) of calibration pump (1).
Then install 4N218 Bushing (2) use the
8S2243 Wrench and a torque wrench to
tighten the bushing to 60 ± 5 lb. ft. (80 ±
7 N-m).
NOTE:
Turning calibration pump (1) 180°
gives the same reference point for all
measurements.
CALIBRATION PUMP INSTALLED
1. 3P1540 Calibration Pump. 17. Tang on lever. 18.
Lever. 19. Groove of calibration pump. 20. Flat on
plunger.
NOTE:
Use
4N218
Bushing
(2)
and
calibration pump (1) together. The
contact surfaces of the standard
bushing, fuel injection pump and the
housing for the fuel injection pumps
are sealing surfaces. Keep them
clean and free of scratches, to
prevent leaks.
PUTTING DIAL INDICATOR ON ZERO
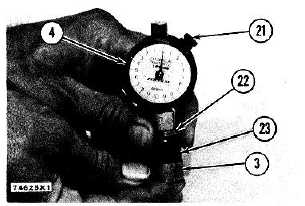
3. Microgage. 4. 3P1568 Dial Indicator with 3P2226
Collet. 21. Lockscrew. 22. Locknut. 23. 3P2226
Collet.
10.
Put dial indicator (4) on microgage (3) and
hold them together tightly. Loosen
lockscrew (21) and turn the face of dial
indicator (4) to put the pointer at "0".
Tighten lockscrew (21). Remove dial
indicator (4) from microgage (3). Look at
the face of dial indicator (4) and put dial
indicator (4) on microgage (3) again. The
pointer must move through one to one
and one half revolutions before stopping
at exactly "0". If the number of
revolutions is not correct, loosen the
locknut on 3P2226 Collet (23), and adjust
the position of the dial indicator until the
adjustment is correct do Step 11.
2-60