
0012 00
TM 5-5430-248-13&P
1
2
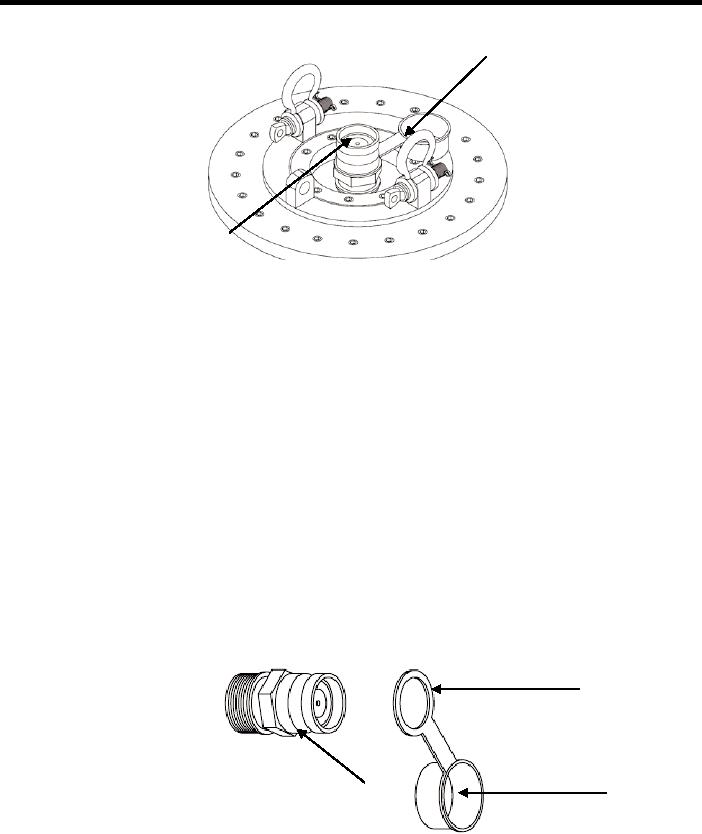
Figure 3. Adapter assembly and dustcap.
7. Inspect dust cap. Discard if dust cap is non-operational or broken.
8. Inspect adapter assembly. If threads are damaged, discard adapter assembly.
9. Clean the adapter assembly with a paper towel, removing dirt or debris on both ends.
10. Wrap antiseizing tape around the threads of the adapter assembly for two rounds in the
counterclockwise direction.
11. Insert adapter assembly into the metal plate and hand tighten in the clockwise direction until five
threads are showing.
12. Align ring of dust cap (Figure 4, Item 1) to the non-threaded side of the adapter assembly
(Figure 4, Item 2), so that the cap of the dust cap can be folded on to the adapter assembly
(Figure 4, Item 3).
1
3
2
Figure 4. Dust cap attachment to the adapter assembly.

