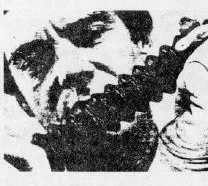
Stretch the breathing tube to remove
water from between the corrugations.
Closely
inspect
the
tube
for
perforations, small cracks, or signs of
wear,
especially
along
the
corrugations.
Breathing tubes may have marks at
the base of each corrugation that
appear to be cracks. The marks were
created during the molding of the tube.
If there are cracks in areas other than
the base of the corrugations or
perforations, cuts, and signs of wear,
replace the breathing tube.
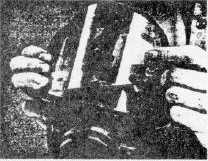
To check the breathing tube for leaks,
close one end with a solid rubber
stopper. Close the other end with a
rubber stopper with a 1/8-inch hole in
it. Stretch the tube 10-12 inches
beyond its normal length and cover the
hole in the stopper. With the hole still
covered, release the tension on the
tube. The air inside the tube will
compress to about 3 psi. Submerge
the tube in water. Bubbles will indicate
leaks.
Allow the facepiece and breathing tube
to air-dry, remembering to stretch the
breathing tube to release excess
water. Do not attempt to force-dry the
parts by placing them near a heater or
in direct sunlight because the rubber
will deteriorate.
When the facepiece is dry, install a
cover lens to protect the lens from
scratches. The cover lens is backed
with a pressure-sensitive material for
easy installation.
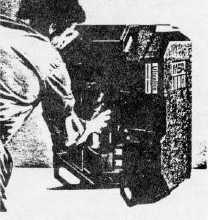
The carrying case also should be
cleaned. Turn it upside down and tap
both the back and lid to loosen debris.
The inside of the case then should be
sponged off with the Cleaner-Sanitizer
II solution.
Clean the Harness Assembly
A soiled harness is an open invitation
for eventual deterioration and may
reduce the serviceable life of the
equipment.
A mild soap or commercial cleaning
detergent should be used on the
harness.
Wipe off all surface dirt with a
sponge dampened (not soaking)
with
water.
Rinse
sponge;
squeeze dry.
Work up a thick lather with mild
soap or commercial detergent.
Thoroughly wash the harness with
the lathered sponge, being careful
to use the lather only.
Wipe dry with a clean cloth.
Let the harness air dry. Do not
place it near hot steam pipes or
other sources of excessive heat.
6. Inspection
Following
the
cleaning-sanitizing
process,
the
entire
apparatus
is
reassembled and inspected by sight
and sound for normal operation. All
connections on the apparatus should
be checked for tightness.
7. Recordkeeping
Following the inspection, the date and
initials of the designated person should
be recorded on the MSA Inspection
Tag. A more detailed record of the
operations performed can be noted on
the MSA inspection and maintenance
log. See page 8 of this bulletin for
more details.
When the inspection data has been
recorded, the breathing apparatus is
stored in a ready position (Step 3).
5


