SERVICE MANUAL
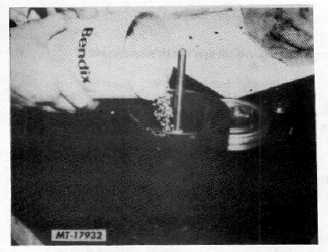
Fig. 13 Installing Desiccant
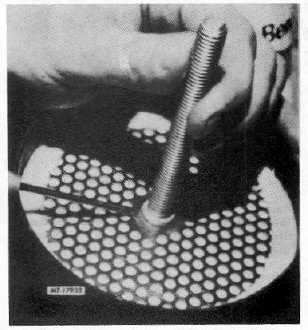
Fig. 14 Installing Second Perforated Plate
6.
Set the conical spring on top of the perforated
plate (large diameter down, small diameter up).
7.
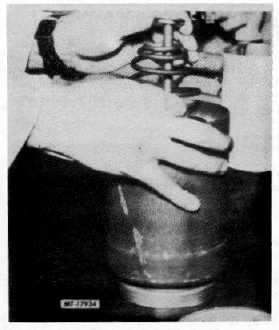
Place the spring retainer on top of the spring
(Fig. 15).
8.
Install the previously rebuilt desiccant sealing
plate on the cartridge bolt so that the ball check
retaining clip can be seen.
Fig. 15 Positioning Spring Retainer On Spring
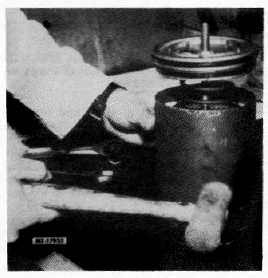
9.
Using the lock nut draw the assembly together to
approximately half of the spring’s free height.
While slowly turning the cartridge, tap the side of
the shell with a plastic mallet (Fig. 16). This
allows the desiccant material to settle properly
into place. Continue to tighten’ the nut making
sure all items are properly aligned. Tighten nut
firmly using an 11/16" socket or box wrench.
Fig. 16
CTS-4079 - CHAPTER XIV - Page 9


