SERVICE MANUAL
4.
By tightening the lock nut, draw the desiccant
sealing plate down into the desiccant cartridge
until the shoulders of the desiccant sealing plate
is against the cartridge shell.
REBUILDING DESICCANT CARTRIDGE
Only the current revision desiccant cartridges (Fig. 9)
can be rebuilt. Currently revised desiccant cartridges are
identified positively by the Bendix trademark BW
stamped in the hex head of the cartridge bolt and by the
letters and number AD-2 displayed on the bottom face of
the oil filter. If an old revision desiccant cartridge is
removed from the air dryer, it should be replaced with a
complete currently revised desiccant cartridge.
Disassembly of Desiccant Cartridge
1.
Carefully remove the lock nut on top of the
desiccant sealing plate. (The plate is spring
loaded; however, the spring load is completely
relieved when the nut is removed.)
2.
Remove the desiccant sealing plate and rebuild
it as outlined in "Removing & Rebuilding the
Desiccant Sealing Plate."
3.
Remove and retain the spring, spring seat, bolt
and cartridge shell. Discard the oil separator
filter, the two perforated plates and desiccant
material.
Reassembly of Desiccant Cartridge
1.
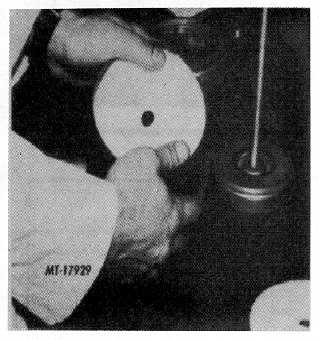
Insert one of the perforated plates into the
cartridge, felt cloth up, and tap it firmly to the
bottom. Felt always faces desiccant material
(see Fig. 10).
Fig. 10 Installing Felt Cloth In Cartridge
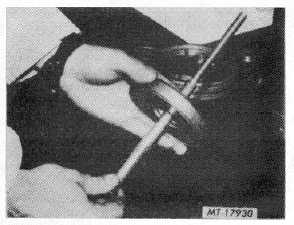
Fig. 11 Installing 011 Filter Separator
2.
Slide oil filter separator over the cartridge bolt
with the gasket surface next to the shell (Fig.
11).
3.
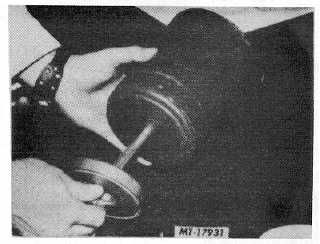
Install the bolt with the oil separator into the
bottom of the shell and through center hole of
the perforated plate in the bottom of the shell
(Fig. 12).
Fig. 12 Installing Cartridge Bolt
4.
Pour the entire package of desiccant material
into the shell making sure none is lost. Handle
shell carefully so that the bolt does not fall out
(Fig. 13).
5.
Level the desiccant material and install second
perforated plate, felt cloth down. Make sure the
shoulder of the bolt is centered and extends
slightly above the top of the perforated plate (Fig.
14).
If the shoulder of the bolt does not extend above
the perforated plate, tap the side of the desiccant
container.
CTS-4079 - CHAPTER XIV - Page 8


